A dental implant is a titanium post placed in the jaw to replace a missing tooth root and support a crown, bridge, or full-arch prosthesis. Many patients choose implants for their durability, natural look, and ability to protect nearby teeth and bone. This guide gives a clear, patient-friendly walkthrough of the full procedure for a dental implant from first consult to final restoration, so you know what to expect at every stage.
Who makes a good candidate for a dental implant?
Good candidates are generally in good health, have controlled chronic conditions, and maintain reasonable oral hygiene. An adequate jawbone is important; patients with bone loss may need grafting first. Common reasons for implants include replacing a single tooth, multiple teeth, or a full-arch replacement when dentures are no longer satisfactory. Realistic expectations about timeline and healing are key.
Step-by-step: Procedure for a dental implant
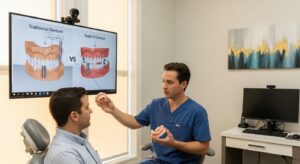
Consultation & diagnostic planning
The first visit includes a medical and dental history review, oral exam, and imaging. CBCT 3D scans and digital impressions are often used for precise planning. Your dentist maps nerve locations and bone volume to choose implant size and position. A treatment plan and timeline are discussed.
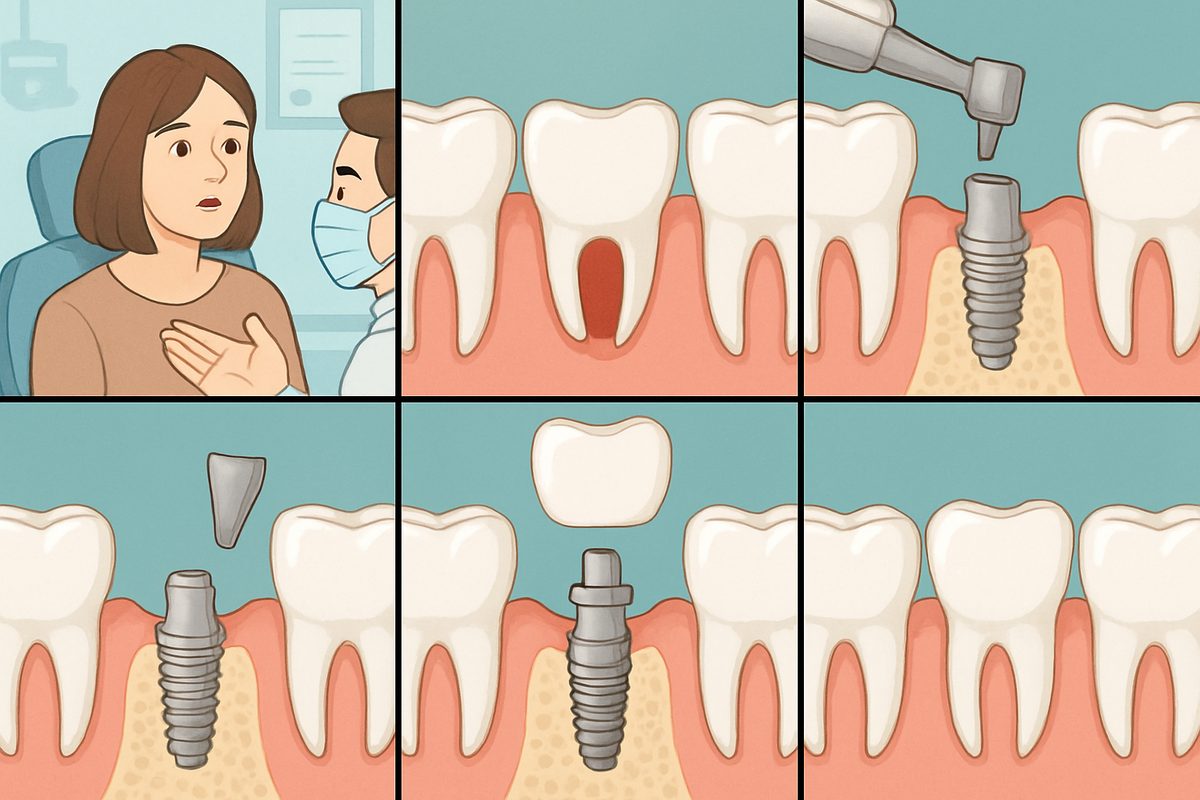
Surgical placement of the implant
Implant surgery is done with local anesthesia and optional sedation. The surgeon makes a small incision, prepares the bone with a series of drills, and places the titanium implant. The site is sutured, and you may receive a temporary crown or removable prosthesis if needed. Typical appointment length is 60–120 minutes, depending on complexity. Immediate post-op instructions and medications are given.
Healing and osseointegration
The implant bonds to bone in a process called osseointegration, which can take several weeks to a few months. During healing, follow soft-food and oral-hygiene instructions, avoid smoking, and attend follow-up visits to monitor progress. Mild swelling and soreness are common for a few days.
Abutment and impression or scan
After integration, the abutment is attached to the implant or the gum is reopened to expose it. Digital scans or physical impressions are taken to design the final crown, bridge, or prosthesis. This step ensures the restoration will fit the implant precisely.
Final restoration delivery
The final crown, bridge, or denture is secured to the abutment. The dentist checks fit, bite, and appearance, then makes any needed adjustments. You receive care instructions to protect the restoration and maintain gum health.
Pain, risks, and common side effects
Expect mild to moderate soreness, swelling, and minor bleeding for a few days. Over-the-counter or prescribed pain meds and cold packs help. Less common risks include infection, nerve injury, sinus complications for upper implants, and implant failure. Call the office for persistent severe pain, uncontrolled bleeding, numbness, or signs of infection.
Factors that can lengthen or complicate the procedure for a dental implant
Significant bone loss often requires grafting, and upper molars may need a sinus lift—both add time and stages. Uncontrolled diabetes, smoking, or prior radiation to the head/neck increase complication risk. Each factor can extend healing and treatment steps.
Typical timeline: how long from start to finish?
Single-tooth implants often take 3–6 months from the initial consultation to the final crown. Multiple implants or grafting can extend to 6–12 months. Full-arch cases may be staged or use immediate-load protocols, ranging from a few months to a year, depending on bone and treatment choices.
Cost and insurance basics
Costs and insurance vary by number of implants, grafting, material quality, and clinician expertise. Insurance may cover some portions (like extractions), but often not the implant itself. Financing and in-house plans are common to spread payments.
Why choose Lalor Implant Center for your procedure for a dental implant in Vestal, NY
Lalor Implant Center is led by Dr. Joe Lee, a board-certified prosthodontist with advanced training in implants and esthetics. The practice uses CBCT, CAD/CAM, in-house milling, and 3D printing to improve accuracy and speed, keeping most care under one roof for coordinated results. Choosing the right center for your procedure for a dental implant in Vestal, NY is crucial for optimal results.
Next steps and patient checklist
To schedule a consult, call or request online. Bring a list of medications, past dental records (if available), and questions about the timeline, costs, and sedation. Prepare to discuss medical history and goals so your care team can create a personalized plan.